DIY Backpack
Kristin and I are preparing for a LOW CARBON ADVENTURE(tm).
We plan to spend about a year hiking, using as little carbon as possible. Realistically this means that we plan to either be walking, or traveling on public transportation…bus or train. We will not have a car, and we will not be flying.
As part of this, I designed and sewed my own backpack.
DIY Backpack
Clearly I am standing on the shoulders of giants. For those that want to sew a backpack (or tent), I recommend checking out Ray and Jenny’s site. I have sewed a number of their kits:
Note:
The umbrella is a key component. First popularized by Peter and Barbara Jenkins. Then, the father of ultralightweight hiking, Ray Jardine, picked it up and talked about it in their book, “Trail Life”, see:
- https://www.rayjardine.com/ray-way/index.php
- https://www.rayjardine.com/ray-way/Books/Trail-Life/index.php
- https://www.rayjardine.com/Papers/Magazine-Articles/index.php?StoryPage=12.95
Kristin purchased (but didn’t end up building):
I have sewed two of the net tents. On the second one, I opted to keep the design simple and ommitted the bat wings. I haven’t used this tent yet, so I’ll report back as to whether that was a good idea or not.
I’ll mention it again, be sure to read Trail Life.
For my backpack, I opted to design mine from scratch. I could (and probably should) have ordered a kit from the Jardine’s… it’s actually cheaper to order their kits than to purchase the fabric directly from my local fabric supplier. However, I just wanted the experience of starting from scratch.
Here’s a photo trail of this journey…
Prototypes
Ultra-Ultralight
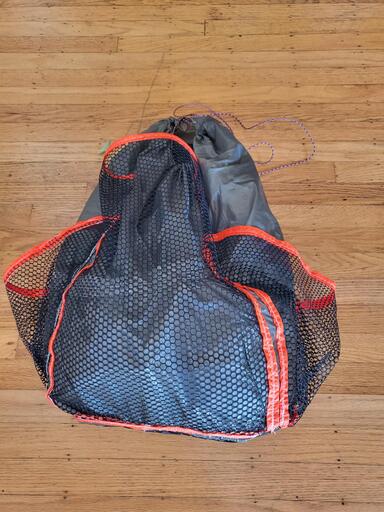
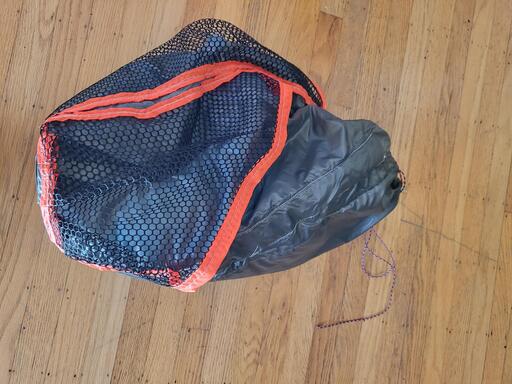
I made my first prototype out of 1.9 oz nylon… this is the sort of fabric I make stuff sacks out of. I am certain that a backpack made of this material would be a shredded mess in no time. But when I started out, it was exciting to have a backpack that weighed just a few ounces. I never completed this design with straps as it just seemed silly to continue.
First Full Prototype (with straps)
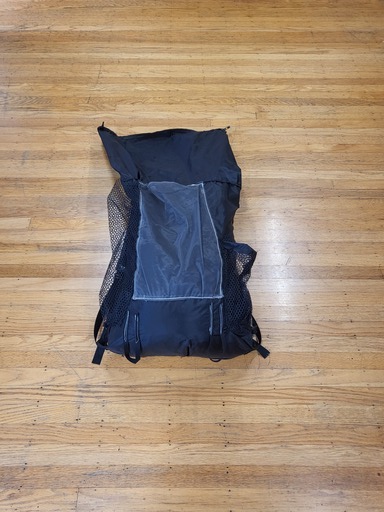
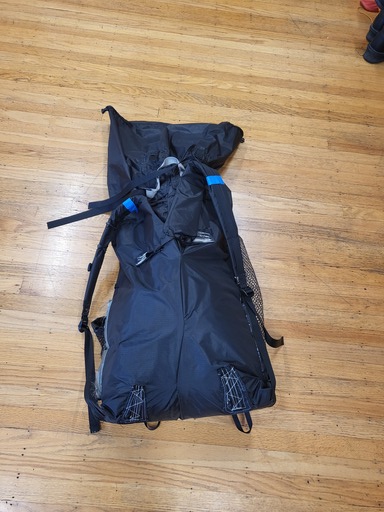
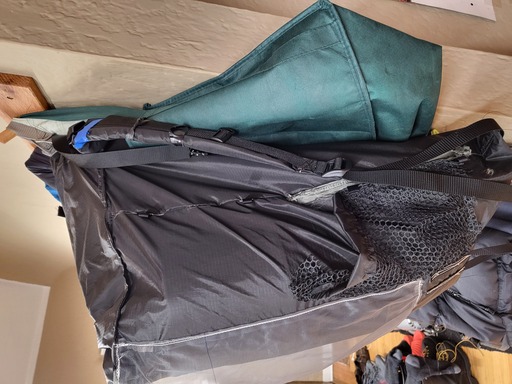
I used basting stitches to help fasten things as I sorted out where to put the straps and lifeters…
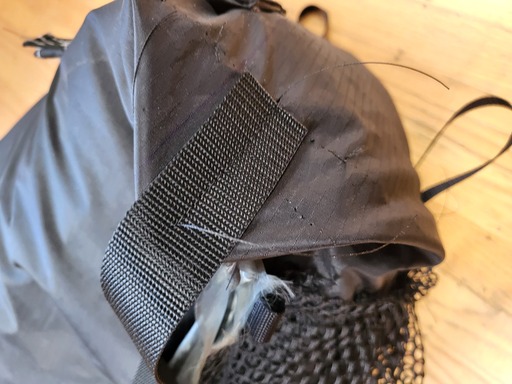
A also used a fair bit of blue painters tape and black electrical tape while sorting out the shoulder straps. If you look closely at the photos, you’ll see sewing with nothing attached… at first this wasn’t a prototype. It was a failure. But then, once I freed my mind and just started hacking it apart and re-sewing it back together, what I wanted it to become started to take shape.
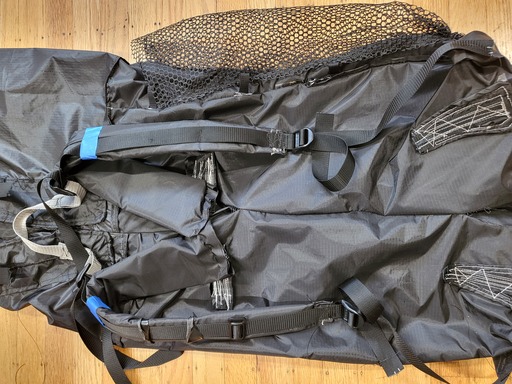
Pattern Making
Once I had a pack that I liked, it was time to spit the pack apart along the side seams.
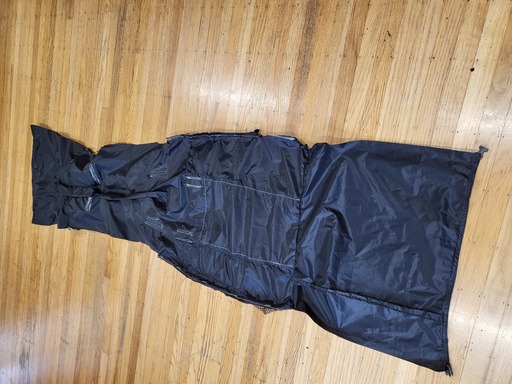
Then I flipped the pack over so that I could see all the features attached to the outside.
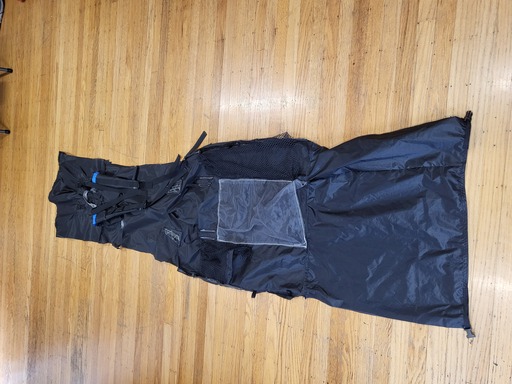
Making the Pack
With the prototype spread out, I laid down my new fabric next to it, marked it, and cut it to length.
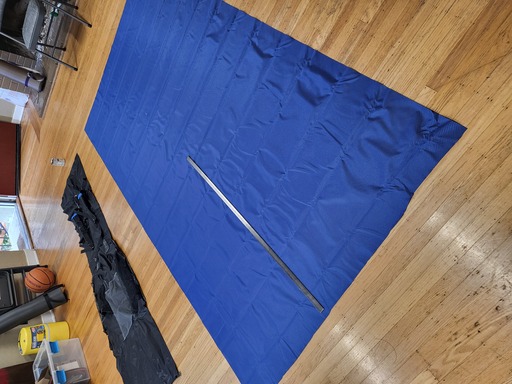
I also cut the bottom reinforcement piece. Note that I have an electric fabric melty thingy in this photo. That tool works magic with meltable fabrics. However, while it’s a must-have tool for cutting sunbrella… for a backpack, the melted ends are a little brittle and might chafe somewhere. So I ended up just using scissors for everything in this build.
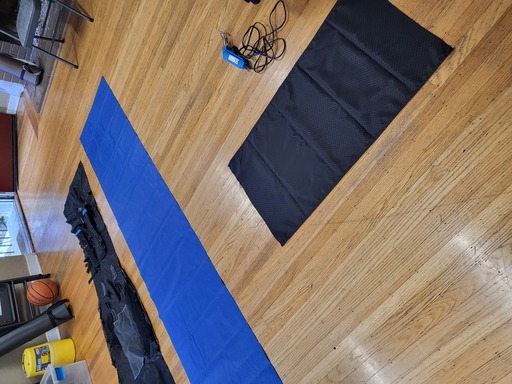
The bottom is now reinforced.
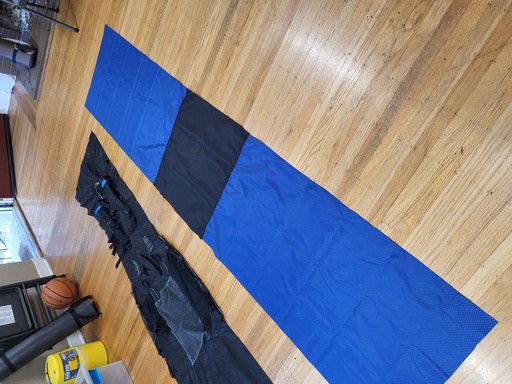
I’m laying a straight edege across the black fabric over to the blue fabric. The black fabric is the prototype turned into a template. I marked the center location for the bottom, using chalk, on both the template and the new fabric. From this point on I didn’t really measure anything. I just transfered locations from the template to the new fabric, marked with chalk, and started sewing.
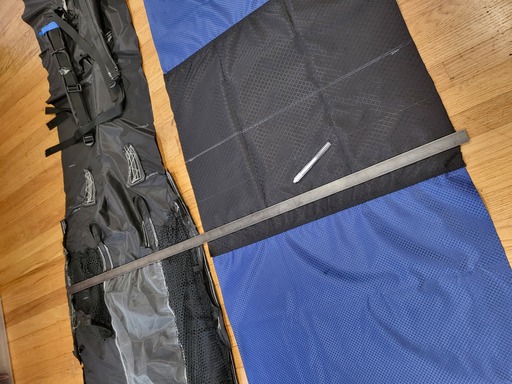
I added a black patch for reinforcing the backpack and lifter attachment points.
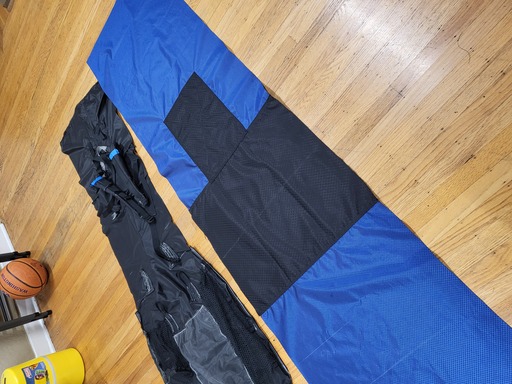
I added the mesh bag for drying out my socks and underwear. Maybe I’ll also put snacks here.
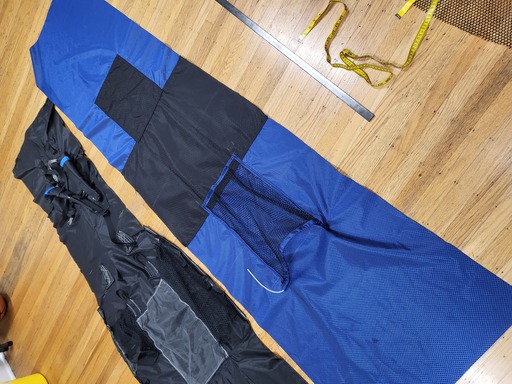
I love my umbrella. And I want to be able to cary lots of water. So these are the panels for those two features…
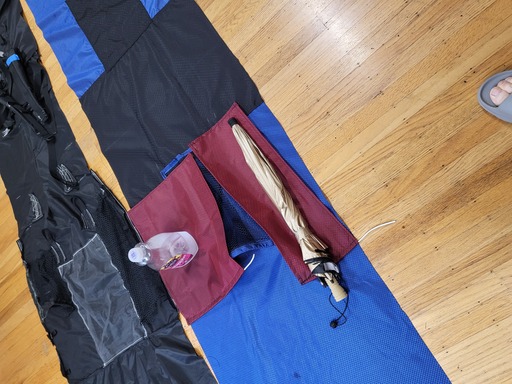
Panels sewed in.
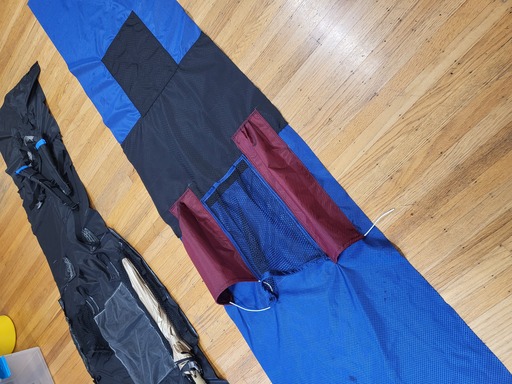
I reinforced these loops with some rainbow webbing.
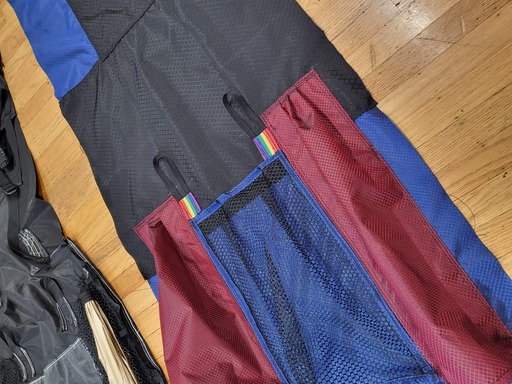
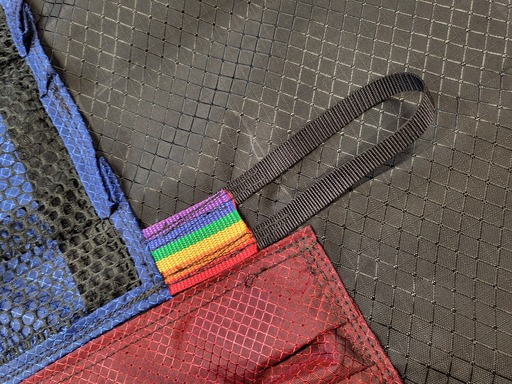
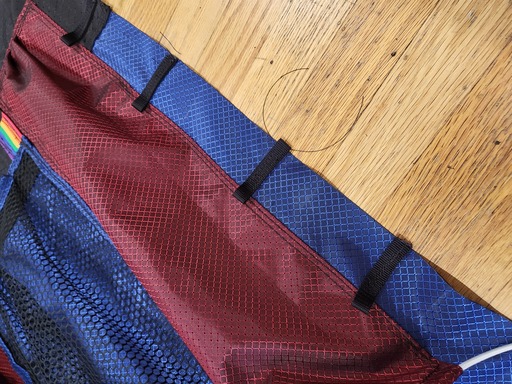
I had intended to run some thin ~1/8" bungee cord on the back of my pack to hang a rain coat or something. These little black tabs worked great on a previous prototype. However, on the finished pack these were a PITA. When the fabric is folded over 2-4 times, this becomes really THICK and hard to sew. And I misjudged how long they need to be and only have of them are available to use in the finished pack. Next time I’ll stagger how these get sewed and pull them back from the edge by 1/2".
Pickup strap and lifters. Again, I sized all of this on the prototype.
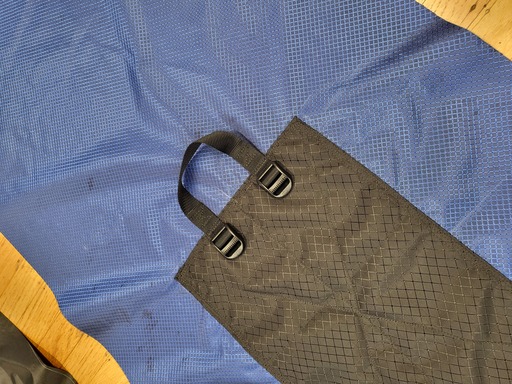
The straps are not hard, but there is some complexity in that the front webbing needs to be solidly attached to the strap. Otherwise there’s this piece of webbing digging into you with out a pad between you and the webbing. I took the proto-pieces and turned them into templates.
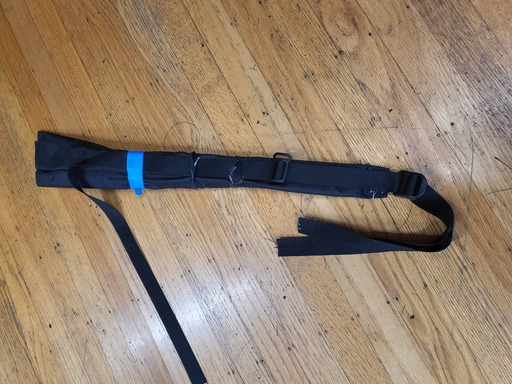
Attaching straps to the pack.
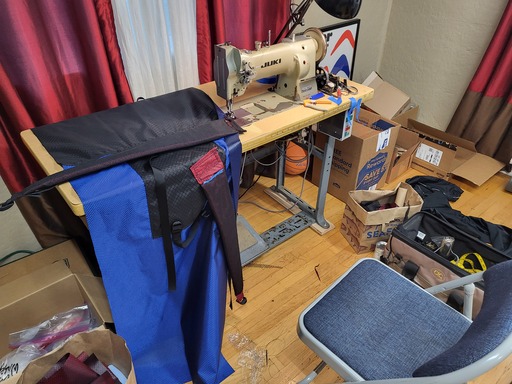
I hope my stitching holds.
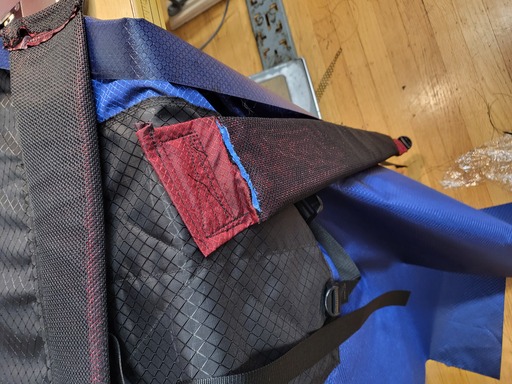
Both straps attached.
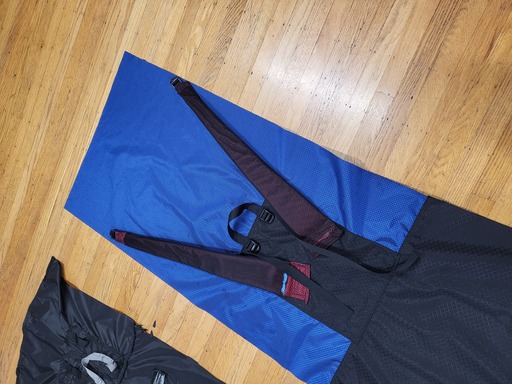
With all the features added to the outside of the pack, it’s time to turn it inside out and sew the side seams. For this I switched from V-69 to V-92.
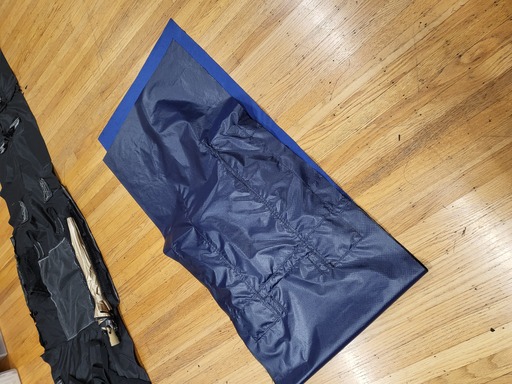
The pack has been sewed inside out, with something like a flat felled seam…resulting in 4-6 layers of fabric… there is no way a normal sewing machine could do this. Make’s me glad I purchased a used Juki walking foot industrial machine for this project.
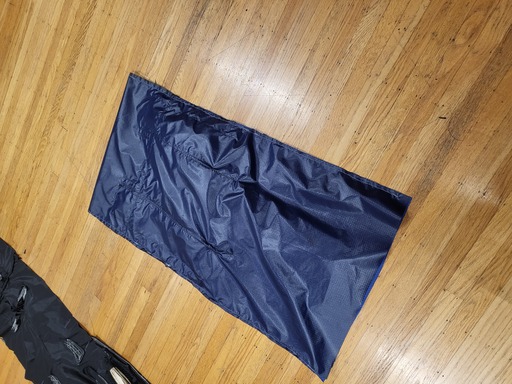
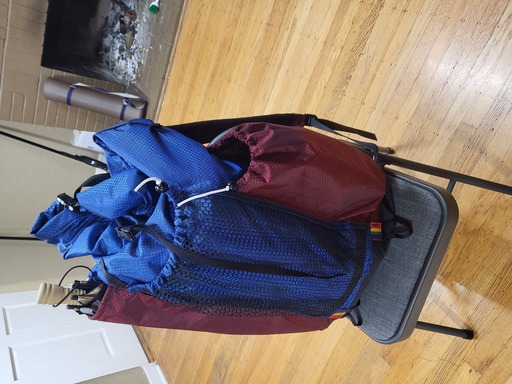
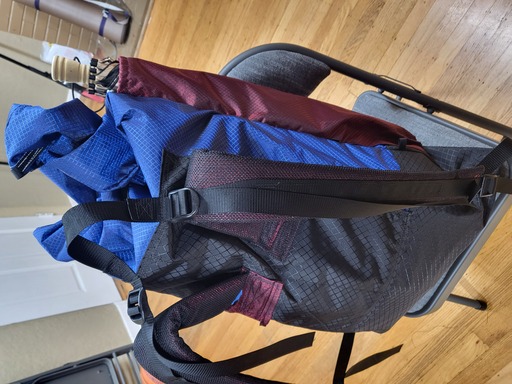
Right side out
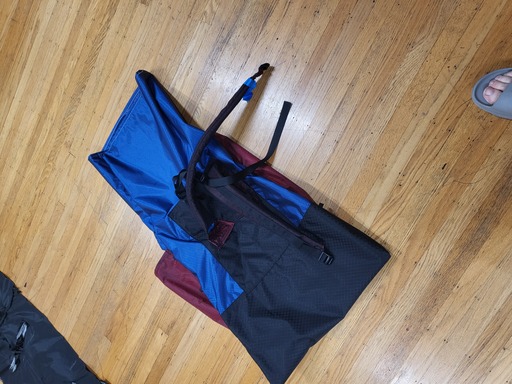
Pack loaded up with umbrella, water bottle, a bear canister and some clothes inside.
Conclusion
Sewing this pack was a blast. It is probably heavier and more expensive than a kit would have been. However, I had fun designing it and testing out prototypes. Actually, I should mention that the design stage was kind of disheartening. I felt like I was wasting material and time and that I’d eventually wind up buying a pack after spending $$$ trying to make one.
I definitely didn’t save any money on this. And I’d do a few things differently. But hey, now I know how to make a backpack and I have a cool holster for my umbrella!
Pack Weights
- My normal pack (Deuters internal frame) : 73oz
- This pack as built : 20oz
- The Jardine’s pack : 13 oz